
How to Recover your Couch Cushions
(part of the how to recover your couch)
So a while back...
as in 9 months ago!!!!!!
We bought a love seat and couch for $100 from some sketchy furniture store with the idea of recovering them.
I got straight to recovering the love seat in March of this year. And it looks great. However, the cushions still needed to be done. So for the mean time I just draped a white sheet over it, like this:

It is now November and I finally got to covering the cushions.
Procrastinate much?!
I was going to make a tutorial on how I recovered the whole couch, however, I did it so long ago that I can't find the pictures and I can't remember all the steps!!
My bad! :(
My bad! :(
But I CAN tell you how I did the cushions!
I started with the bottom seat cushion.

Then I traced around my cushion onto my upholstery fabric leaving a 1/2" seam allowance. You need to trace one for the top and one for the bottom.
(I got my fabric from Hancock Fabrics, make sure you iron your fabric)
**make sure that if your fabric has a pattern on it, that the pattern is facing the right way. For example: My pattern has turquoise birds on it, so I want to make sure that birds are not going to be upside down or sideways when I put my cushion on my couch!**

Now measure the side of the cushion.

When Measuring the length around the cushion, I measured from the start of the seam at the zipper, all the way around to the other seam of the zipper.

I then cut out the zipper making sure to leave my old fabric intact so that I can use them as pattern pieces. Use a seam ripper to take the zipper off the old fabric.

Now use the old fabric to cute out two pieces for my zipper.
You could also just measure the zipper area, making sure to add 1/2" seam allowance for zipper.


Now sew the two pieces, right sides together, lengthwise.
Iron the seam.

Now to add the zipper. I took the zipper off the old cushion.
Make sure that you don't pull the zipper all the way down or it will come off the hooks.
With the right side of your fabric down and your seams ironed down, lay your zipper over the seam, make sure that the middle of the seam lines up with the center of the zipper.

Now tape your zipper down. You could also pin it but I think it is a lot easier to tape it.

Using your zipper foot. Start at the bottom of your zipper and sew your zipper down with the right side of the fabric up.

When you get about an inch from the end, lift your foot up and move the zipper down so that the foot doesn't run into it. Now run the seam to the end of the zipper and back stitch.

Start back at the bottom of the zipper and sew the other side.

Before you get about 2" away from the end, use a seam ripper to rip open the seam enough to move the zipper back so your presser foot doesn't hit it.


Now turn your fabric back over and pull up the tape.

Grab your other long side piece and sew it width wise with a 1/2 seam allowance to the zipper piece with right sides together.
Do this to both sides.

Now mark the center of your zipper piece, and the center of the top and bottom pieces.
My center mark was at 19".

Pin the side piece to the bottom piece at the center mark and work your way around.

After you sew around, make sure to go back and clip your corner curves.
This helps the fabric to lay down better, instead of bunching up at the corners.

Now attach the side and bottom piece to the top piece with right sides together. Start pining at the center mark and work your way around.

After you have sewed all the way around and clipped your corners, open your zipper so that you can put the cushion in.

Take the old cushion, if yours is still in good condition, and put it into your new cushion cover.

And there you go!!!
A brand new cushion!! :)

Now, I had to do the back cushion. The back of this love seat's cushion is more like a giant pillow.

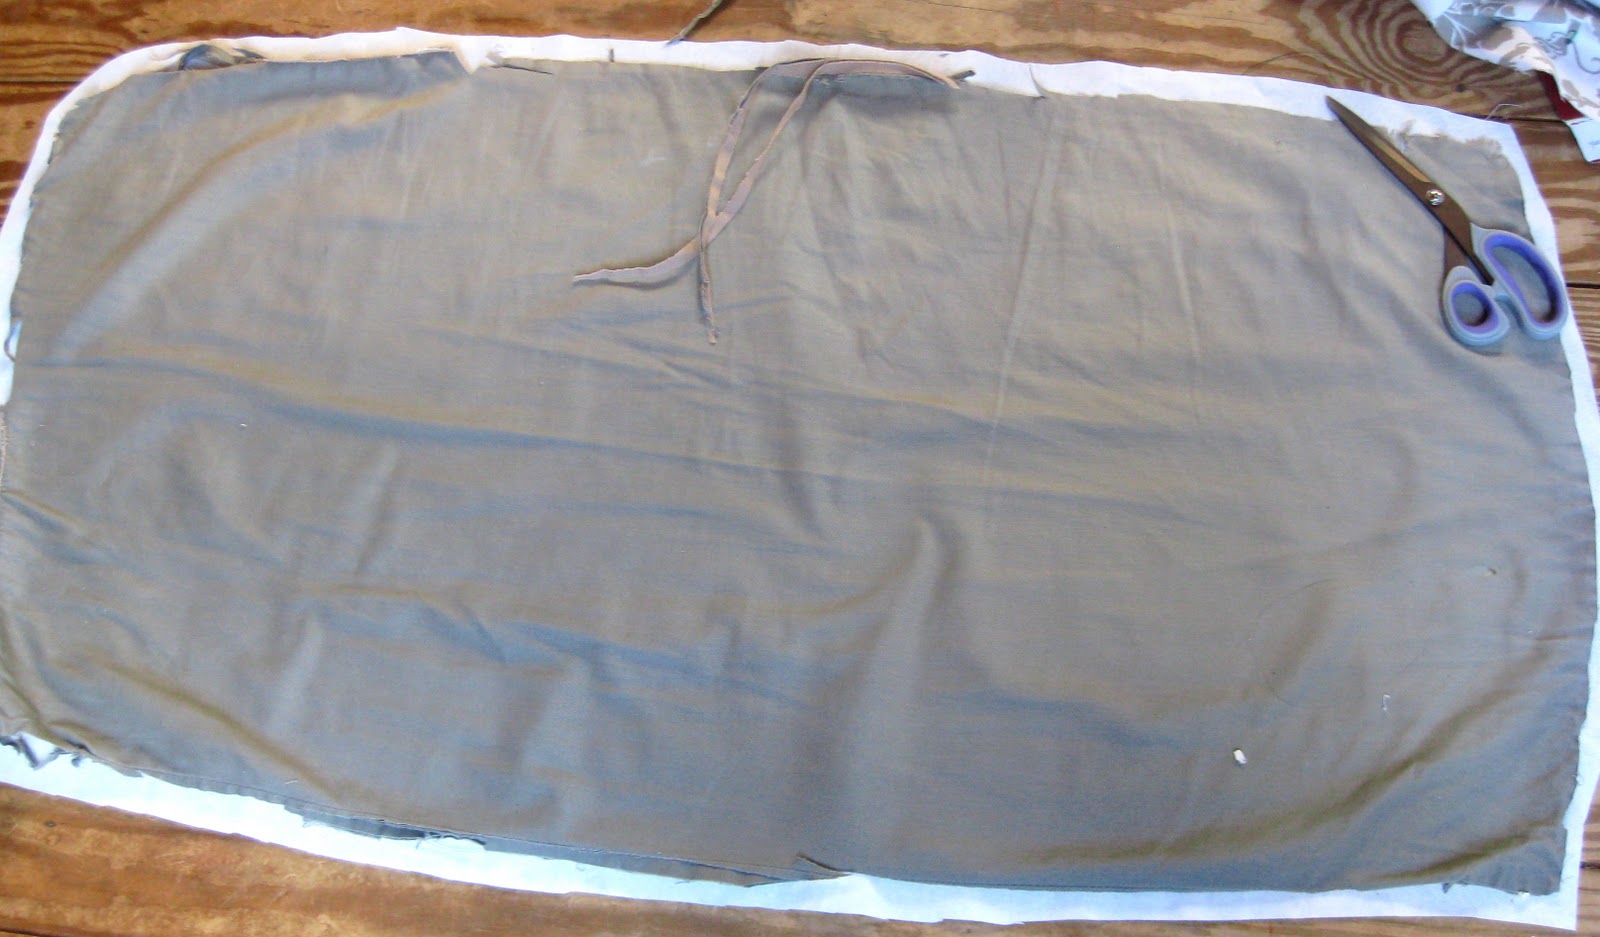
See what great shape this cover was in?

I cut off one side of the old cover and used it as a pattern piece.
I just cut around it leaving a 1/2 seam allowance.
Make sure you cut 2 because you want one for the front and back.
Now sew the two pieces together with right sides together and clip the curves/corners.
Leave a 4 inch opening so that you can stuff your pillow.

You can use the old batting, but mine was so worn so I bought new batting and filled my cushion up.

Now sew close the opening, and you have yourself a brand new chair!!!

I am so glad this is done. I wish I could tell you how I covered the rest of this chair.
So glad its done, it fits so well in our house. I love it! :)
Now gotta make some pillows for it!
So pretty! It looks great Jenn!
ReplyDeleteI have no idea if you still monitor this blog post after more than a dozen years, but thank you! I'm still not sure if I'll do a full, formal re-cover, or just a quick, easy, I-don't-care-how-it-looks patch job. My year-old puppy's really into digging (part Yorkie, so "ratter") and has dug/scratched so much on an old armchair that he's pulling out white fuzz and yellow foam rubber. Right now I have criss-crossed 2 seam- ripped apart jeans legs wrapped around the cushion, but he figured out he could scratch even more and pull off the denim to get back to his digging.
ReplyDelete