Pages

Wednesday, July 25, 2012

10 Best Pinterest Recipes I have Tried

When you see a good idea, you run with it. Taylor from "On my Front Porch Looking In" wrote a blog entailing all of her favorite pinterest recipes that she has tried. Such a great idea and also great for this mamma that has been MIA with nothing to blog about!  So why not!? Here are my top 10 recipes that I have tried. Some are budget friendly but a couple are not!!

1. PF Changs Lettuce Wraps

This recipe is ABSOLUTELY amazing!!! So good. I used ground turkey meat instead of ground beef but this is just OH MY goodness delcious!! It is going to become a weekly meal for us. 


This cream cheese frosting recipe is so delicious. It is one of the best I have found yet. 

This has been the best recipe so far that I have found for Chicken friend Rice. I will never look for another recipe for this again. 


This cheesecake has gotten so many praises at parties and showers. It is so amazing. AND SUPER EASY to make! 


If you know my house, we LOVE our mexican food. This recipe is so great. It actually reminds me that I have not made it in a while and need to do it again soon! 


Home made chicken noodle soup!! Nothing better to soothe the soul with!! I love clean eating as well and this recipe is all of that!! Super easy and really cheap to make.

7. Bang Bang Shrimp

We have only made this once, as it is costly to make. However, it is very good. Well worth the cost if your not on a tight budget! :) 


This is one of the best things I have put in my mouth!!! All homemade and a whole lot of steps but so worth it!!! If you have time you should make it the day before you need it! But a must try! 


Such an easy recipe and very cheap to make. I am a huge fan of apple butter and LOVE having a stock of it in my refrigerator. I love putting it on biscuits and its even amazing to dip fruit in. So good!!!  

Monday, June 4, 2012

How I paint Laminate Furniture


So after painting the dresser for the guest bedroom. I looked at this night stand that was in the room and thought "I wonder if I can paint that?" 

It is just a cheap night stand from walmart or target. I cant remember, but its laminate. So I figured I would give it a try and see if I could make this night stand match the dresser. 


Here is the night stand before.  Along with all the other clutter that was in the room before I cleaned it out. 

First I primed it with a basic oil based primer. 

Then I painted it with the latex paint that I used on the dresser 

After letting it dry for about 4-6 hours. I grabbed some sandpaper and rubbed all of the edges and corners and areas where I felt a good distressing would work. Now I am super cheap and bought this sandpaper at the dollor store for $1. But I would advise against it and go buy a sanding block. This sandpaper just didn't last very long and I always had to fold it so it would get a better grip. 

Here is what it looked like after sanding. 


Then after wiping the night stand done with a clean dry cloth to get all of the dust particles off I grabbed my antiquing glaze and went to work. 

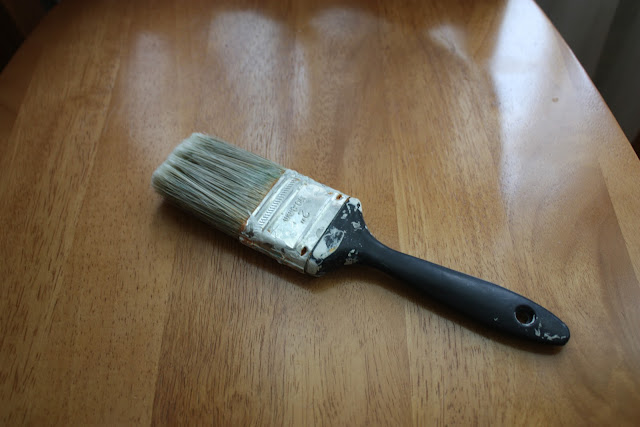
For the antiquing glaze you are going to need a few clean cloths and a paint brush. I just use an old paintbrush. 


 First you paint on some of the glaze in small sections. 


Then you rub that small section with a clean dry cloth before the glaze dries. 

 And this is how it should look after you have rubbed off the glaze. Now keep doing it all over the furniture with the glaze in small sections until it is completely covered. 


 And here is the finished product. 
You can put a wax or top coat on to protect the finish. 


 See, it matches the pretty dresser :) 


Friday, May 4, 2012

Organizing on a Budget


I like to organize. 

I like to organize a lot. 

But I am always reading tons of organizing blogs and websites and as their pictures of their organization may see extremely beautiful and inspiring. I can not afford to spend money on tubs and bins. Especially the specialty kind. Even a 10 dollar basket at Target is too much. I mean you don't just need 1. And it adds up! 

So here is what I did...I wanted a better and more pleasing to look at way of organizing our laundry room. Our laundry room still needs to be painted and there is a lot of cleaning that has to be done in there, but for the time being I wanted to get it organized. 


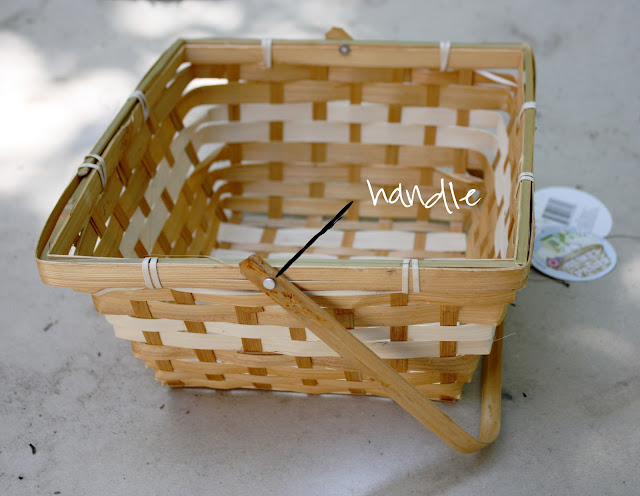
I went to dollar tree and snagged a few Easter  baskets!! Of course for only a $1 a piece! 


Then I took the handles off of each one. I did this by just pulling them off, I had to be a little forceful but it worked. 


After all of the handles were off I took some Krylon spray paint in White and spray painted each one. I didn't spray them so much that they were extremely coated. I just did a couple even strokes and gave it more of a white washed affect. 
Here is what the laundry room looked like before I added baskets: 


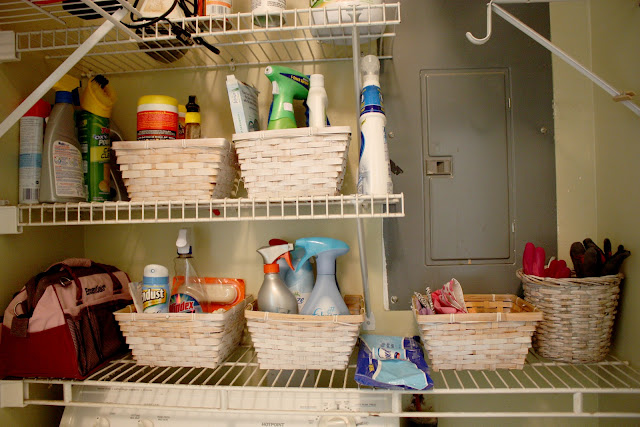
Here is the laundry room after: 

I only bough 5 baskets so here is all I got done. The circle basket I got at a yard sale for $.50. 

Here is how I organized each basket: 


See, the carpet cleaning supplies needs a basket. 

And here is the rest of the laundry room that still needs to be organized. 

But I need more baskets!! :) 


I encourage you to get creative and find things, like cardboard boxes and put some pretty scrap book paper on it, or go to dollar tree and get some baskets!! You don't have to spend a lot to get yourself organized :) 

Wednesday, May 2, 2012

Painting Progress!

Finally!! After being gone in Chicago last week and taking a few days off from chores in general, I got the guest bedroom painted! Yay!!


Now when I started on this room, I figured it would be super simple. Get a bucket of paint and start painting away!! Right?! 

WRONG!

First off the trim was all dark. This meant I needed to sand it all and prime it, the I had to put not 1, not 2, not 3.......but FOUR coats of paint on the trim. 


For the trim I used Olympic Semi Gloss in Crumb Cookie from Lowes. 


Now after all the trim was done I started on the wall. I knew that I wanted to do two different tones. So I grabbed some tan paint from upstairs (also Olympic) and was about to start painting away. Until I noticed that the previous owners did not do a good job of tearing off the previous wall paper. 

GOODIE!!! :) 


Needless to say, this took a lot longer than I initially anticipated. 
But I am happy with how it came out and can NOT wait to get this room done. 

So here is the room before:


and After:

Here is the bed. I am looking at different options for bedding!! :) 


And again the wonderful closet doors. I promise I will finally paint them but they are just so hard to do!! Actually they are just too time consuming! :) 


And yes, that is an ancient desk top computer!!! I told Robbie I wanted to move it out of this room and put it upstairs but he wants it in there. 

Cant wait to show you the end table for the bed! 

Tuesday, May 1, 2012

How to Make a Corsage


So excited to have another tutorial up. I was asked a couple of weeks ago to make a corsage for a bridal shower. I was able to get a little creative with it and I love how it turned out. This corsage can be adapted to your own taste with different colors and by using different ribbon. 


First I grabbed a piece of felt and cut it into a 2x2 in square. I cut of the corners and turned it into a circle. This is your base. 

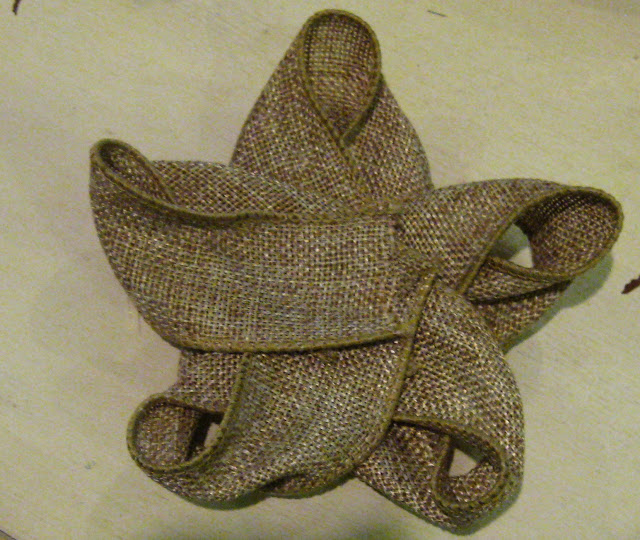
Then I took my ribbon, I decided to use burlap ribbon but you can use what ever ribbon you like, and cut it into a 6 inch strip. Cut 5 of these. 


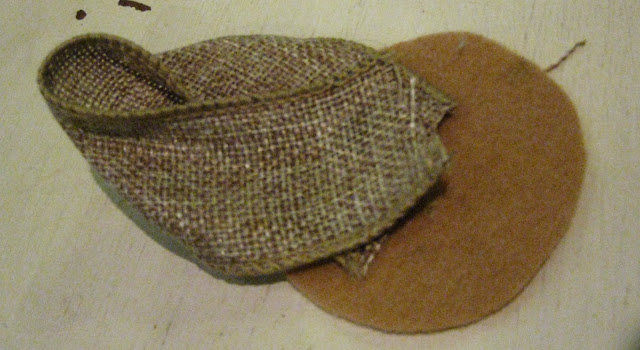
Fold each one over making a loop and hot glue it together. Then hot glue each piece onto your felt. 


After you have glued each of your ribbon on the felt, your corsage should look like a starfish! 


Next I cut 3 circles out of white satin. You can use whatever color you like, but make sure it is satin or it wont work. This is how you make your flowers. I cut the big flower with a 2" diameter. I cut the next two circles a little smaller than the one before it. You only need 3 to make one flower. I cut enough for 2 white flowers and 1 green flower. I also make them all different sizes. Your circles do not have to be perfect. 


Then hold your circle about an inch above a flame until it starts to fold into itself. Keep going all the way around each petal. If it gets too hot for your fingers you could use a pair of metal tweezers. 


Here is how your petal should look after holding it over the flame. 


Then, I cut a piece of tulle a little bit bigger than my flower and placed each petal inside each other. I got a needle and thread and a pearl bead and sewed through the middle of the flower, making sure that my bead is secured in the center.


Now grab your green satin and cut a leaf shape. It does not have to be perfect, when you hold the leaf over the flames the melting process is very forgiving and it looks better if it is not too perfect. I cut enough for 3 leaves. 


Hold the leaf about an inch over your flame and allow the sides to curl up. 


After that you just put them all together in the center of your ribbons, you can rearrange them however you want. You could also use more flowers or take away some. I used 3 flowers of different sizes and also used 3 leaves. Now you could just grab a pin and have it pinned on or you could buy a clasp that is glued to the back to allow the corsage to be worn.