
The weather is changing.
And I am LOVING it.
With the cold weather comes my favorite hot pumpkin drinks.
Cute boots.
and warm jackets!!

Ainsley needed a coat. But I was not about to spend $40 bucks for a cute coat that was going to fit her for another couple of months.
So I got to working...
However, I did make a huge mistake in the process of making this jacket. But I just kept going and will just continue to see the ugly mess up.
I was too lazy to start over...not to mention out of fabric.
HERE IS HOW TO MAKE YOURS
I started off by using one of her shirts to make my pattern pieces.
This shirt is a little big on her so I figured it would work perfectly.

Make sure when you are tracing that you add 1/2" seam allowance.
I made one back piece, for the back piece raise the neckline a tad bit.
For the front piece I added another inch onto it since there will be buttons going there.

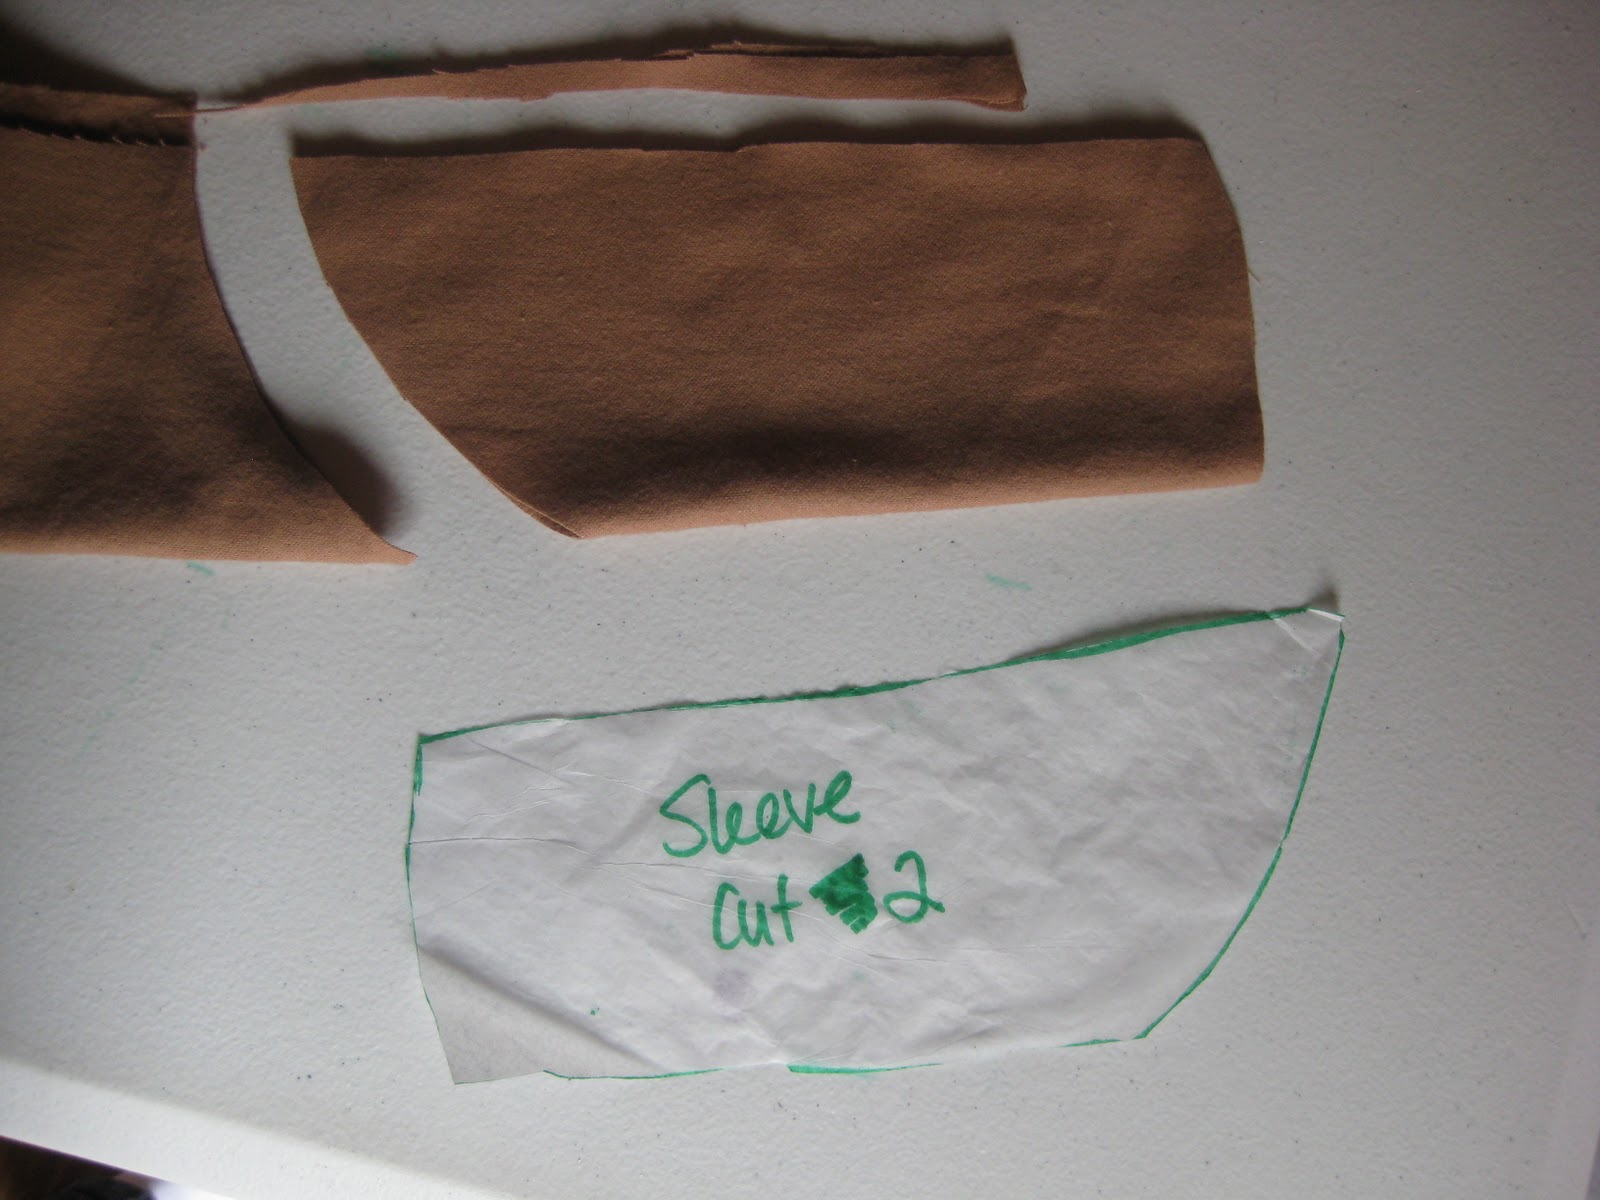
I also traced the arm, still remembering to leave 1/2" seam allowance. I also added an inch to the end of the sleeve, since I knew I would be hemming that side.

Do the same for the bottom. Add an inch to the bottom. And add a few inches to the side so that you can pleat the bottom.

I used a tan flannel for the outside fabric and used white fleece for the inside fabric.
Using my pattern piece for the front of the bodice, cut 2 of each fabric.


I cut one back bodice of each fabric. Make sure to cut on the fold.


Then cut two of the front bottom pieces.
Add one inch to the inner sides.


Cut 2 of the sleeves out of both fabrics. Make sure to cut on the fold.
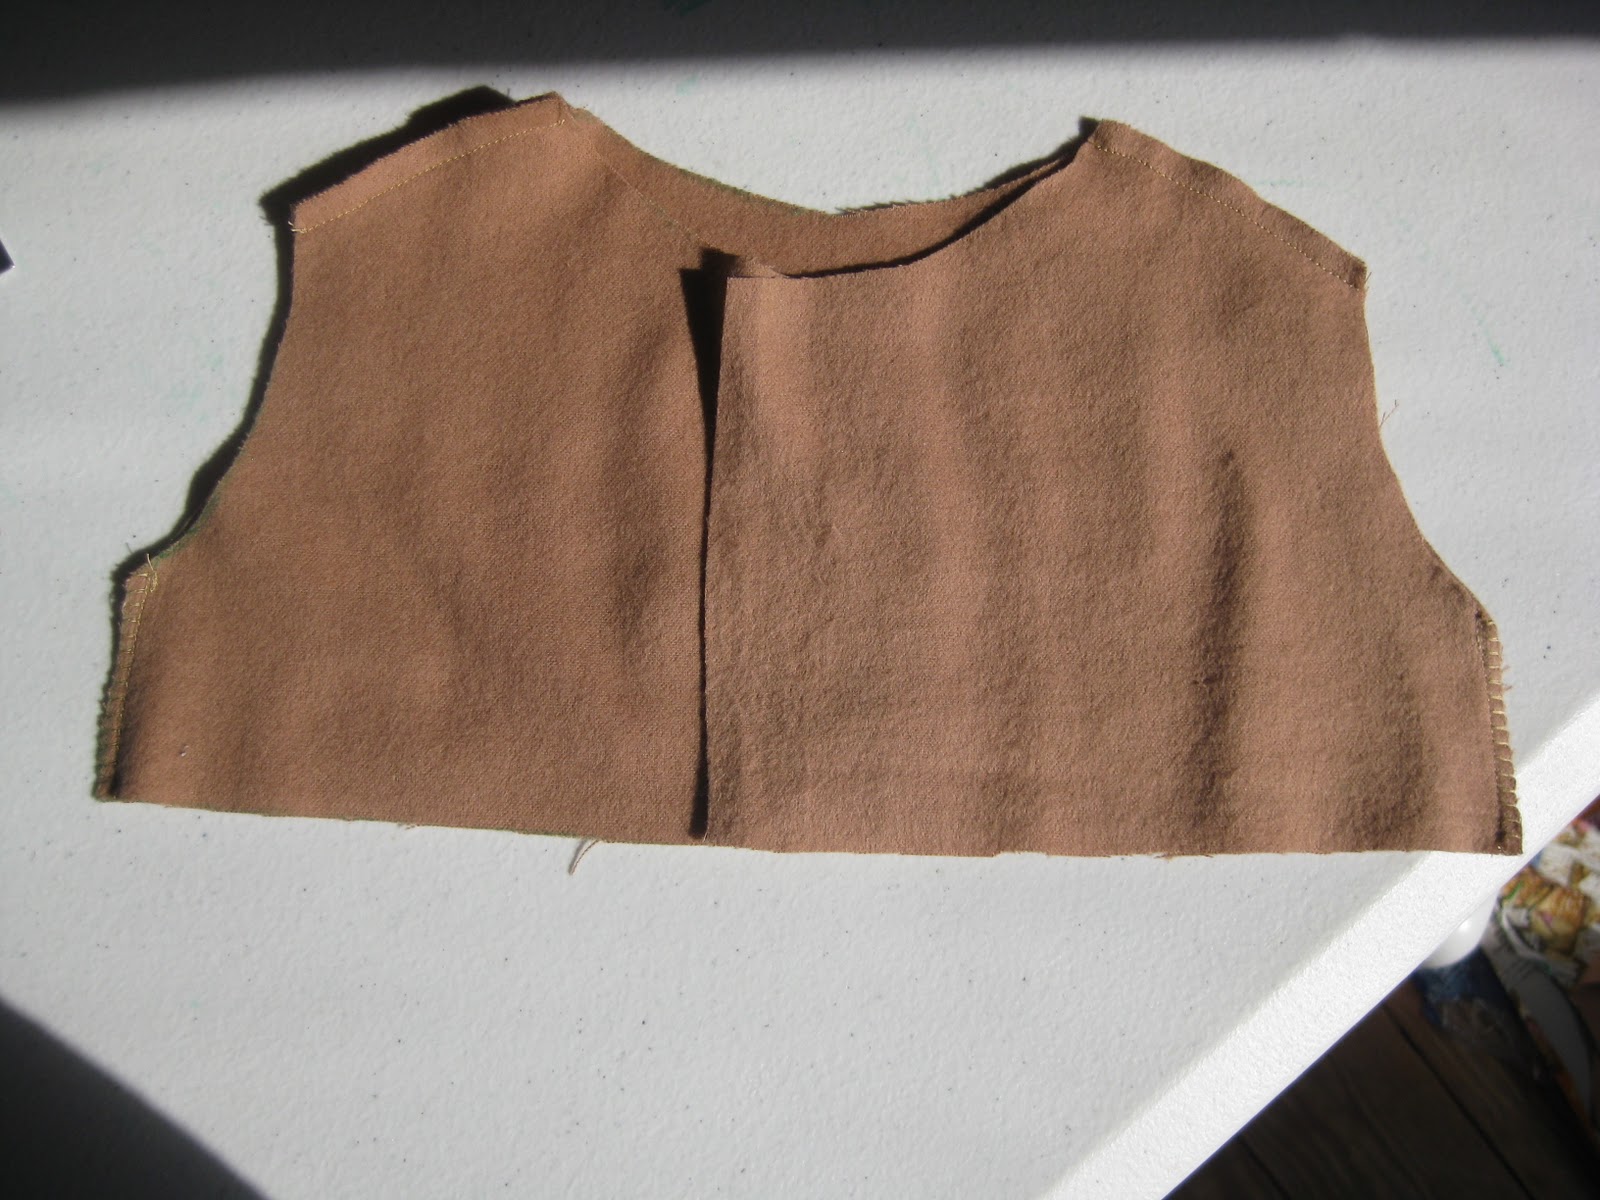
Now with right sides together, sew the shoulders and sides of the front bodice pieces to the back bodice piece.
Do the same for the inside fabric pieces as well.


Measure the inside of the collar. I made mine just an inch short from the sides, and 2 inches wide.
cut 2 of these

Then sew them together with the right sides together. Make sure to clip the corners and the curve.

And turn it inside out

Sew the collar on, with right sides together to the bodice.

Sew the front bottom pieces with right sides together to the back bottom piece.

Now mark 2 spots on the back of the bodice for your pleats, and one place on both front pieces.
Then sew the bottom piece onto the top bodice piece with right sides together.

See the pleats! They make me happy :)


Now this is where I messed up, I sewed my sleeves on first before putting the inside fabric in.
So if you know what your doing with a sewing machine. Put the inside lining in first, then sew the sleeves on.
I had a major brain fart and did this backwards. You will see later why this is a big deal.
Take your inner sleeve and outer sleeve and sew the ends together and then hem them with 1/2" hem.


Then sew down the side with right sides together.

Now put the inside lining in with the right sides together and sew around the sides and top and down the bottom leaving a few inches to flip your jacket inside out. Then you hand sew the rest of it together.
(However, i did not do this because I put my sleeves on first and so now you can see all my nasty edges :( )


Flip it out.

Roll the bottom about 1/2" and then 1/2" again and sew it together.
Do the same to the front sides.

Now mark where you want your buttons and make button holes and add your buttons on.

And there you have it!!!
A little Petite Coat for baby!!
And its warm and cozy and that is really what matters.


Very cute and you are brave to make a coat!! I also love your craft room!
ReplyDeleteMary Nail
Jenn this is adorable! Love it!
ReplyDeleteseriously? your talent makes me sick. ps - you have an award on my blog :)
ReplyDelete